How to set up a development environment in Android
There are a lot of situations where I have only my Android phone and I want to develop something – it can be an Android app, a React website or simple Python script. Here is how to set this up so your Android phone can become a dev environment.
This has a few steps.
- Install and setup Termux – the best terminal emulator for Android. This will run your code such as Python or Node.js.
- Get a file manager for Termux – a graphic user interface for easier use and manage your Termux files
- Get a graphical file editor – sometimes, it’s better to edit your project with an actual GUI editor
- Install AndroidIDE for coding Android apps from an Android phone – if you want to develop an Android project. (optional)
Install Termux and basic Termux utility:
Install Termux from f-droid or from GitHub (google play is no longer an option). I recommend the following setup [paste in Termux is a long click on the screen and click paste]:
First, write the command termux-setup-storage – that will allow Termux to read and write (but not execute!) files from the shared storage (/sdcard).
Second, let’s install some utilities that I think every development environment should have (or at least these are the utilities I always use) :
pkg install git python micro zoxide fd sd ripgrep
Here is an explanation for each of the tools:
- Git – for clone, pull, and maybe even publishing projects
- Python– a simple and intuitive programming language. I find this very helpful even when I coded an Android app
- Micro – the best editor for Termux that I know :
When I edit something in Termux, I need a simple and intuitive text editor. I cannot waste keystrokes by using an editor that’s built for a computer keyboard, and uses numbers and symbols a lot. In Android (with most keyboards) the symbols are 2 buttons away, but control is in the Termux keyboard anyway. So I wanted a text editor that has one mode, and uses simple control shortcuts. Micro-editor is exactly that: it uses ctrl+s to save, and ctrl+z is to undo, etc. - zoxide – smarter cd command. It keeps track of the directories you use the most, so if you type
z myproject, it will remember that it is located in the/sdcard/termux/projects/myproject, for instance. - fd – a simpler
findcommand, that usesfd regxto find all files containingregx, andfd -e htmlto find all files with extensionhtml - sd – (far) better than
sed. Find and replace regex just bysd before after, for example, to replace newlines with commas:sd '\n' ','(here is how to do it withsed) - Ripgrep – fast search for regex in all files in a directory (for example,
rg javascript:to find all files that has the string “javascript:” in them)
Third, I really cannot work without powerlevel10 (or oh-my-zsh, but that’s more like a framework instead of a theme. I still use it in my Termux, since my config files for Linux also use it), zsh-autosuggestion and zsh-syntax-highlighting plugins, so let’s install them:
Install zsh using pkg install zsh, and then use chsh -s zsh to make it the default, then clone the plugins
git clone --depth 1 https://github.com/zsh-users/zsh-autosuggestions ~/.zsh/zsh-autosuggestions
git clone --depth 1 https://github.com/zsh-users/zsh-syntax-highlighting.git ~/.zsh/zsh-syntax-highlighting
git clone --depth=1 https://github.com/romkatv/powerlevel10k.git ~/.zsh/powerlevel10k
Then edit ~/.zshrc (the zsh config file) using micro: micro ~/.zshrc then write:
source ~/.zsh/zsh-autosuggestions/zsh-autosuggestions.zsh

source ~/.zsh/zsh-syntax-highlighting/zsh-syntax-highlighting.zsh

source ~/.zsh/powerlevel10k/powerlevel10k.zsh-theme
eval "$(zoxide init zsh)"
Hit ctrl+s to save, then ctrl+q to quit micro.
Write the command exec zsh (which reload the shell). Powerlevel10k Configuration wizard should come up, and ask you some questions: for the first question: yes, you want to install the recommended font. Otherwise, you will not see your theme nicely. Answer the other questions with you liking your shell to be. For the last question: yes, you want to modify your .zshrc
After this, you are done setting up Termux (although I would recommend you add some aliases to your .zshrc such as alias l='ls' to make the letter l do the same as ls)
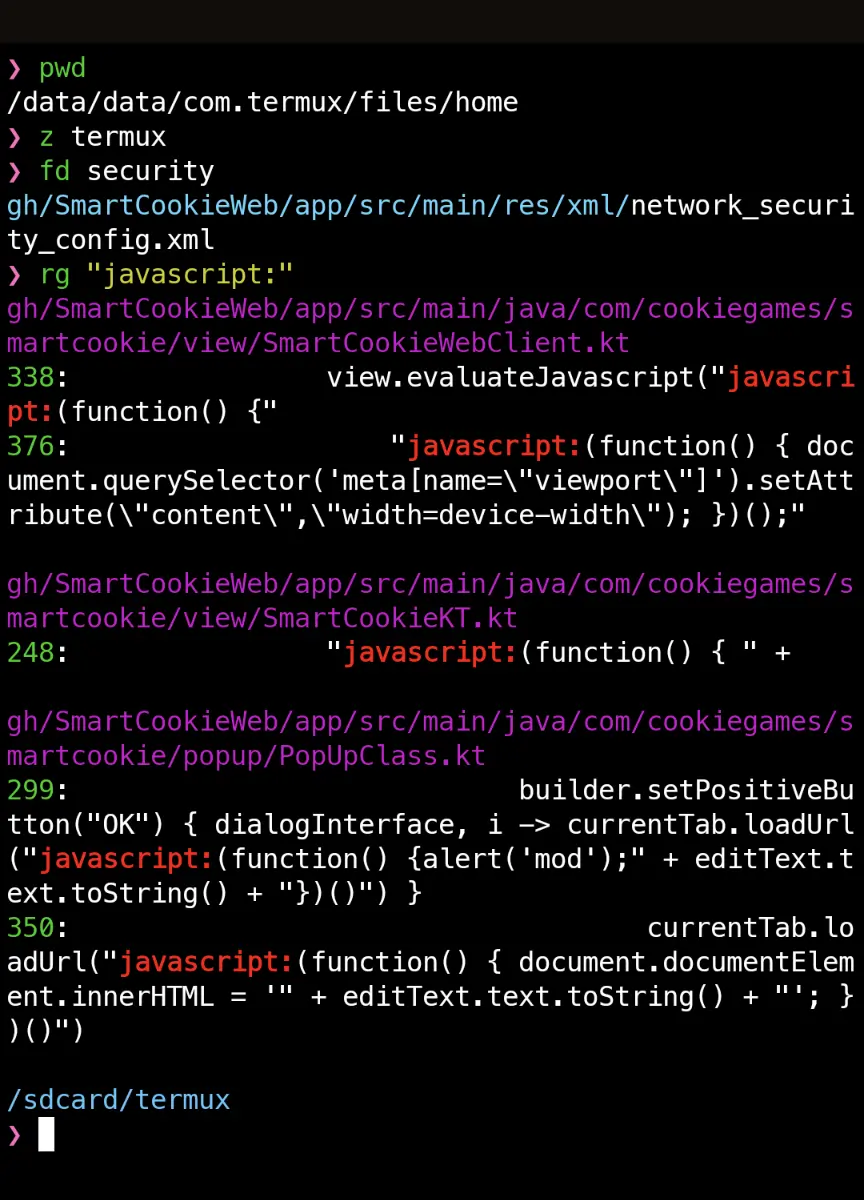
Screenshot of Termux with powerlevel10k theme and using zoxide, fd and rg
Get a file manager for Termux
Unless you want to manage your Termux files using a terminal file manager like nnn, you would probably be more comfortable using a graphic file manager.
There are only two file managers I know that can edit Termux files: the built-in (hidden) files app and material files, and they both require some steps to set up:
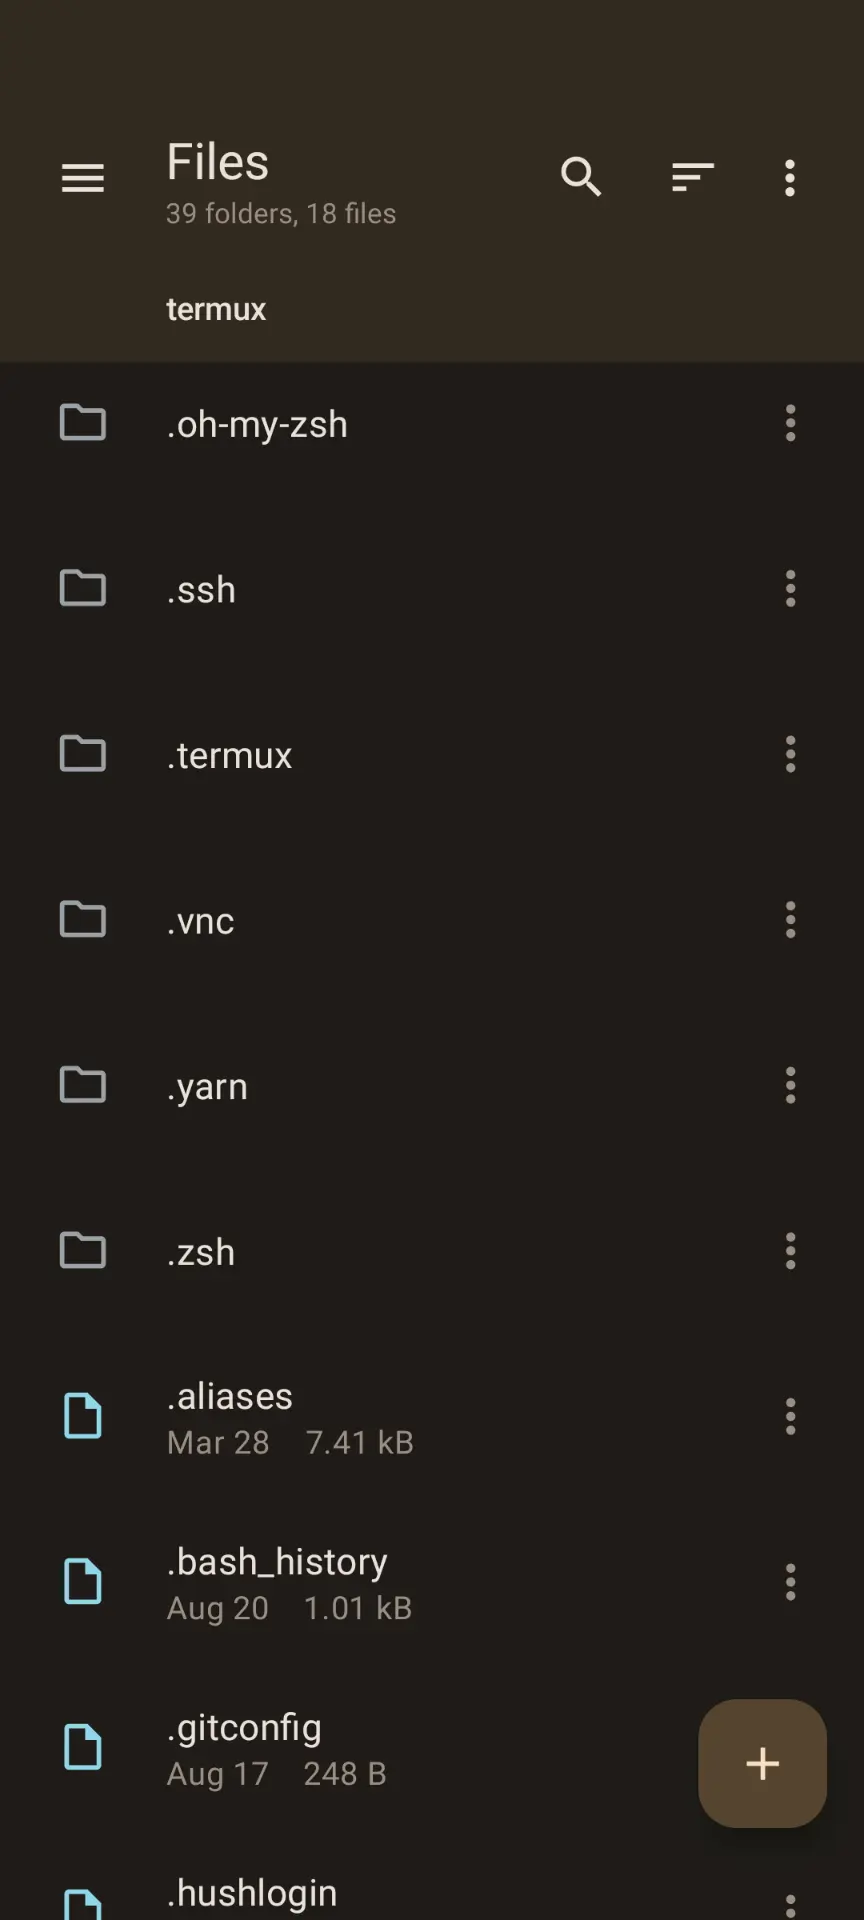
The hidden files app (the screenshot on the left): the simplest way to access it is to install this shortcut app (it’s not open source, probably because it’s only a simple shortcut app, so it has very little code) created by Marc apps & software. If you have activity manager installed, you can search for files and discover you have a package called something like com.google.android.documentsui. You can create a shortcut to the activity FilesActivity.
Both ways give you access to the Android built-in file manager, that will allow you not just to manage your Termux files, but also to manage android/data folder which you can’t access with material files.
Material files (the screenshot on the right): install this from the play store, then click the hamburger menu, click add storage..., External storage. Click the hamburger menu again and click Termux then click use this folder.
Graphical text editors for full projects
If you’re developing something like a React website, using the micro editor to edit individual files is simply not enough.
For those types of projects I use Acode which is like vscode to edit files while viewing the whole project.
![]()
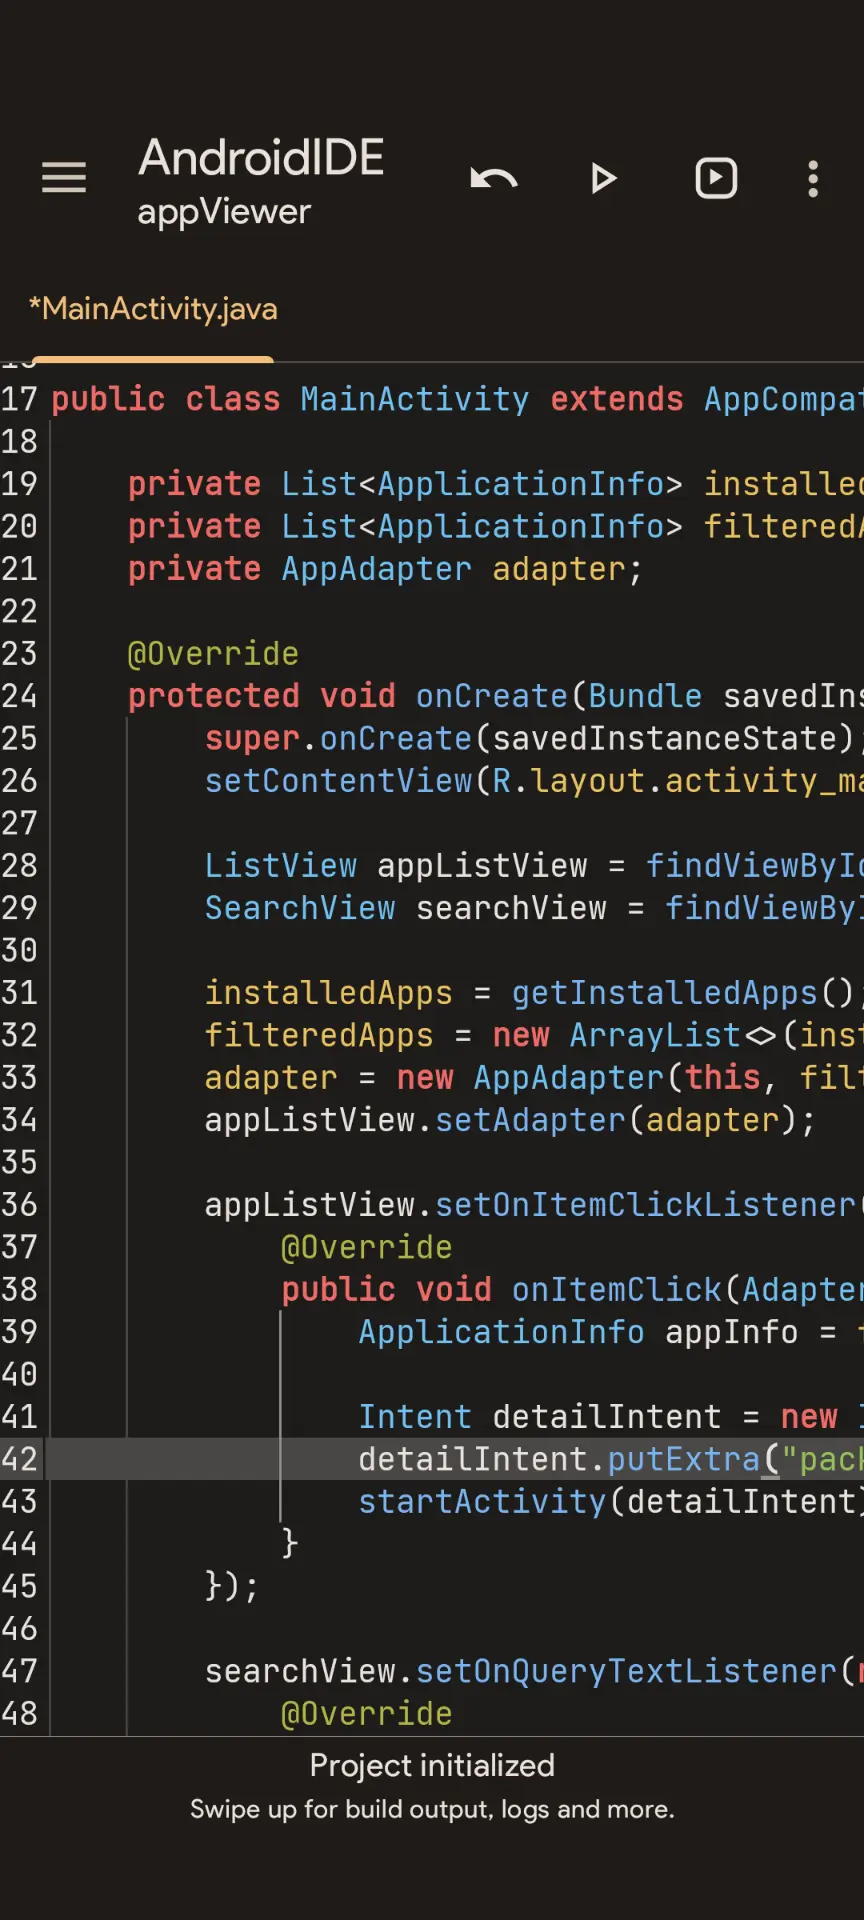
Complete IDE for coding Android on Android
Setting up Android development using Termux and Acode is very hard (you need to install openjdk, install Gradle, install Android SDK, use a template to create new app…) and the sync/compile process is complicated (gradle build,somehow get Gradle to sync without build, etc.). Fortunately, there is an open source app called AndroidIDE that does the things Android-studio does: sync Gradle in the background, view files in a convenient way, a run button, and even a built-in Termux (I am not kidding, the app has a full Termux inside).
To install it, follow the official installation docs. This is the only app I have that is not in any app store. And like most of the apps in this blog post, it is open source. However, it is not on f-droid, and you have to manually install it from an APK file.
So, next time you’re armed with just your Android and a good idea for a project, remember, turning it into reality is just a few taps away. Happy coding with your pocket dev environment!
Comments: (You can also Comment directly to this discussions )